
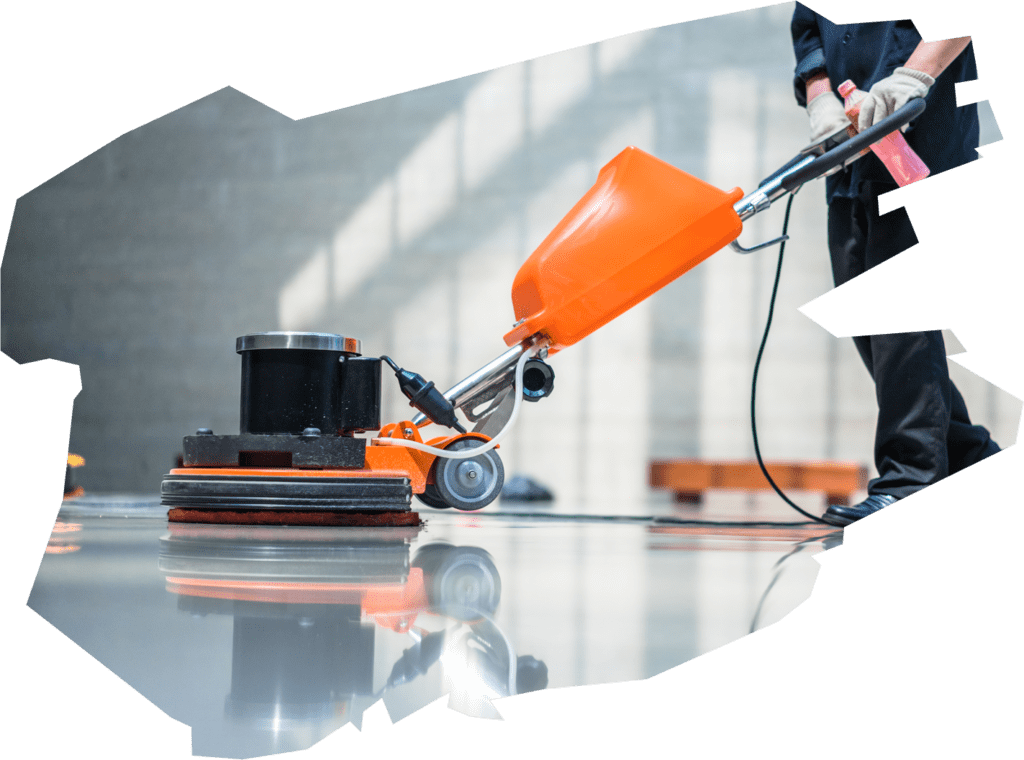
Floor waxing is an effective way to protect and beautify floor surfaces, but the process doesn’t always go smoothly. The most common problems relate to uneven application, stains, lack of shine, and wax layer peeling. These challenges most often arise from inadequate pre-treatment, wrong wax or tools, and working too quickly. In this article, we’ll go through the most common waxing problems and advise how to avoid them.
What problems most commonly occur in floor waxing?
Floor waxing most commonly encounters four main types of problems: uneven application, stains and spots, dull surface, and wax layer peeling. Uneven application shows as streaks and patches, stains often form when dirt or dust gets trapped under the wax, a dull surface indicates layers that are too thin or wrong wax type, and peeling results from poor adhesion to the substrate.
Uneven application is perhaps the most visible problem. It occurs when wax is applied too quickly or unevenly. The wax dries at different rates in different areas, creating streaks and patches on the floor surface. The problem is especially pronounced if you use the wrong application tool or work in poor lighting, where you can’t see all areas properly.
Stains and spots in the waxed surface are usually a sign that the floor wasn’t clean enough before waxing. Even the smallest dust particle or dirt residue gets trapped under the wax and shows disturbingly in the shiny surface. These problems worsen when the floor is in use and dirt sticks precisely to these uneven spots.
A dull surface disappoints expectations, since waxing is done specifically to achieve beautiful shine. Dullness usually results from wax layers that are too thin or from wax that doesn’t suit the particular floor material. Sometimes the cause is also that the wax hasn’t been polished properly or polishing was done too early before the wax had completely dried.
Wax layer peeling is a more serious problem that often requires redoing the entire process. It happens when the wax doesn’t adhere properly to the floor. The cause may be moisture, old wax residue, greasy surfaces, or wrong wax type. Peeling wax wears off quickly and the floor looks patchy and untidy.
Why is floor pre-treatment so important before waxing?
Pre-treatment is the most important stage of waxing, as it determines the success of the final result. If the floor isn’t completely clean, dry, and level before starting waxing, the wax won’t adhere properly and all the aforementioned problems will likely occur. Proper preparation ensures that the wax forms an even, durable, and beautiful surface.
Cleaning is the foundation of pre-treatment. The floor must be thoroughly washed and all dirt, dust, grease, and old wax residues removed. Simple wiping isn’t enough; the floor should be properly washed with a suitable cleaning agent. If the floor has old wax, it must be completely removed before starting new waxing, otherwise the new wax won’t adhere properly.
Drying is as important as cleaning. The floor must be completely dry before starting waxing. A damp floor prevents wax adhesion and can cause milky clouding in the waxing. Let the floor dry peacefully for several hours after washing, and ensure dryness by touching the floor. Especially in humid spaces and during cold seasons, drying takes longer.
Checking levelness should be done before starting waxing. If the floor has dents, cracks, or unevenness, they will be emphasized after waxing. Small damages should be repaired before waxing so that the final result is as smooth and beautiful as possible. A level substrate also makes wax application easier.
Proper pre-treatment takes time, but it pays for itself. A well-prepared floor accepts wax evenly, the wax adheres properly, and the result withstands use longer. Floor surface maintenance and proper care always start with careful preparation.
How do you choose the right wax and tools for your floor?
Choosing the right wax and tools starts with identifying the floor material. Different materials require different waxes, and the wrong choice leads to poor adhesion, dullness, or even floor damage. Vinyl and linoleum floors require different wax than wood floors, and stone surfaces have their own products.
Identifying the floor material is the first step. If you’re not sure what material your floor is made of, ask building maintenance or check construction documents. Wrong wax can be too hard or too soft for the particular surface, which shows quickly in wear or peeling. Manufacturers mark on products which surfaces they’re suitable for.
The importance of tools cannot be underestimated. For wax application, you need a suitable mop system or applicator that distributes wax evenly. A tool that’s too hard leaves streaks, while one that’s too soft doesn’t spread wax thin enough. Microfiber mops work well in many situations, but for larger projects, mechanical application should be considered.
Wrong choices cause concrete problems. If you use wax intended for wood floors on vinyl flooring, it won’t adhere properly and will peel off during use. If the application tool is wrong, you’ll create an uneven surface that doesn’t look professional. Wrong wax can also react with the floor material and cause discoloration or stickiness.
Floor polishing and waxing success largely depends on using products and tools that are right for your specific floor. It’s worth spending a bit more time making the right choices than fixing a failed waxing afterward.
How do the number of wax layers and drying time affect the result?
The number of wax layers and drying time directly affect the durability and appearance of waxing. A layer that’s too thick dries unevenly and may remain sticky, while a layer that’s too thin doesn’t provide adequate protection or desired shine. The drying time between layers is equally important, as rushing almost always leads to poor results.
The correct number of layers varies according to floor material and wax type. Usually two or three thin layers give the best result. The first layer serves as a base, the second layer strengthens protection and shine, and a third layer may be necessary in heavily trafficked areas. Each layer should be thin and even.
A layer that’s too thick is a common mistake. When you apply wax too thickly at once, it doesn’t dry evenly. The surface may remain sticky or form bubbles and wrinkles while drying. A thick layer also peels off more easily during use, as it’s not as flexible as thin layers. Thin is always better than thick.
Drying time between layers is critical. Each layer must dry completely before applying the next one. Depending on the wax and conditions, this usually takes from 30 minutes to two hours. If you apply a new layer too early, the layers won’t adhere to each other properly and the result is soft and uneven.
Impatience is waxing’s greatest enemy. The temptation to speed up the process is great, but it always backfires. Give each layer enough time to dry, and check dryness by carefully touching the surface. When the surface feels completely dry and doesn’t stick to your finger, you can apply the next layer. Floor waxing in Helsinki or Espoo requires the same care regardless of location.
What do you do if floor waxing fails?
If floor waxing fails, don’t panic. Most waxing problems can be fixed, even though it requires time and effort. The first step is to assess how serious the problem is. Small unevenness and dullness can often be corrected with an additional layer, but more serious problems like peeling or stickiness require removing the wax and starting the process over.
Minor problems can be corrected more lightly. If the floor is just slightly dull or uneven, you can lightly sand the surface with fine steel wool or a sanding machine and apply a new thin layer of wax. This works when the problem is superficial and doesn’t result from poor adhesion. Make sure the surface is clean before applying the new layer.
More serious problems require wax removal. If the wax is sticky, peeling in patches, or is clearly the wrong type, the only solution is to remove it completely. For this you need wax remover and proper scrubbing work. Apply the remover according to instructions, let it work, and scrub the wax off. Rinse the floor thoroughly and let it dry completely before starting new waxing.
Avoiding mistakes next time is important. Think about what went wrong the first time. Was the floor sufficiently clean and dry? Did you use the right wax and tools? Did you let the layers dry properly? Fix these things in the next attempt. Basic floor cleaning before waxing is always a good starting point for a successful result.
Wall-to-wall carpet cleaning and care follow the same principles as hard floor treatment. Thoroughness, right materials, and sufficient drying time are key aspects in every floor care job.
Successful floor waxing requires thoroughness, right materials, and above all patience. When you recognize the most common problems and know how to avoid them, you’ll achieve a durable and beautiful result. If floor care feels laborious or the risk of failure too great, we can help. We offer professional floor care for businesses, which includes waxing, polishing, and all necessary pre-treatments. We ensure that your floors stay beautiful and in good condition year after year. Contact us for more information about our services.